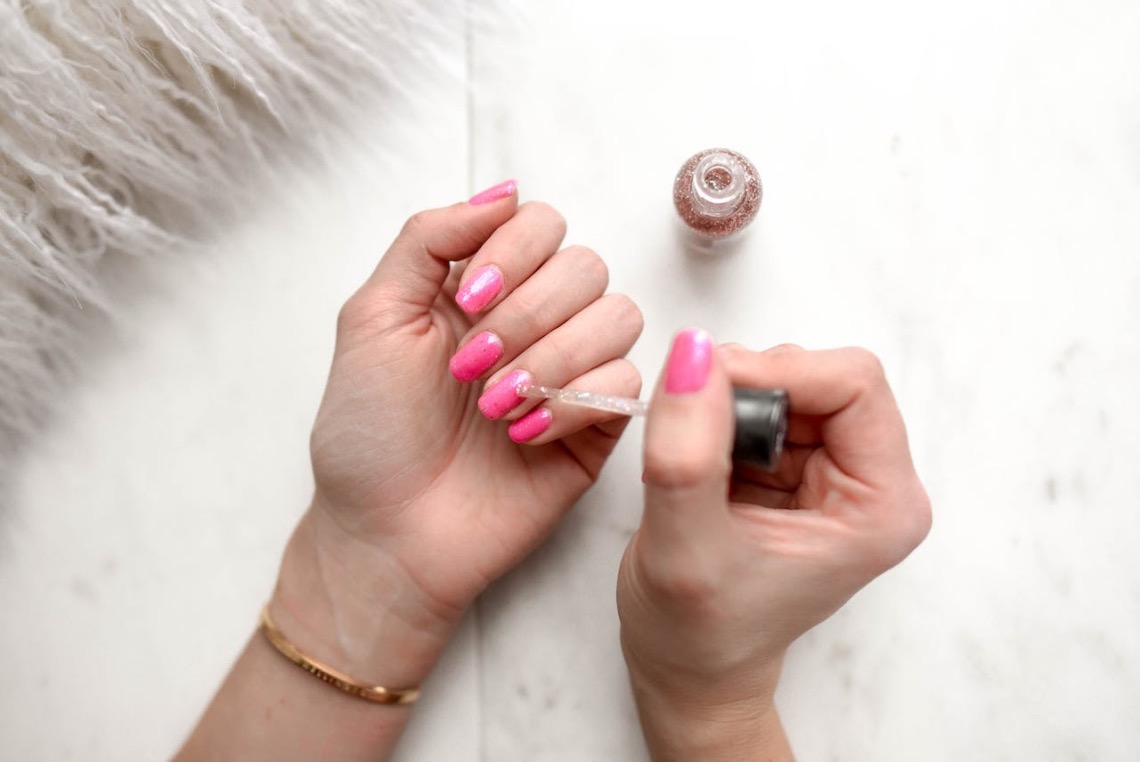
Using tape in your nail art can yield creative and clean designs, but it’s essential to know the right techniques to prevent smudging and ruining your base polish. In this guide, I’ll share some helpful tips to perfect your taped manicure.
Gather Your Tools and Materials
Before you begin, gather the following tools and materials:
- Polish: Choose the nail polishes you want to use for your design. Quick-drying polishes and top coats are particularly handy for taped manicures.
- Tape: Use any type of tape you have on hand, but matte Scotch tape is a popular choice for its visibility and adhesive qualities.
- Scissors: Keep scissors ready for cutting tape strips.
- Table: Find a table where you can stick the tape strips to their ends, making them easily accessible during your manicure.
Preparing the Tape

To ensure the tape doesn’t damage your base polish, follow these steps:
- Cut Tape Strips: Begin by cutting several tape strips to the desired length. Place them with their ends stuck to the side of a table for easy access.
- Reduce Stickiness: Tape can be overly sticky, so to prevent it from tearing off your base polish, apply it to your hand first and then transfer it to your nail. This reduces stickiness and minimizes the risk of ruining your base polish.
- Use Matte Tape: Opt for matte Scotch tape because it becomes see-through when properly attached. Focus on the sides near the cuticles, as these areas tend to become loose.
Applying and Removing the Tape
Follow these steps for applying and removing tape to achieve clean and crisp lines:
- Apply the Tape: Apply the tape to your nail. The tape’s visibility helps you see if it’s attached correctly, as it becomes see-through when properly positioned. Pay close attention to the sides near the cuticles, ensuring they are well-pressed before starting your nail design.
- Apply the Next Polish: After applying your base color, apply the next polish (for instance, a top coat) but remove the tape before moving on to the next nail. Avoid removing the tape when the polish is extremely wet, as it may smudge. Waiting too long can result in messy edges.
- Remove Toward the Polish: When it’s time to remove the tape, pull it off toward the polish, following the edge you want to keep crisp. Randomly pulling it off from one side to the other can smudge your design.
- Quick Removal: To avoid messy edges, consider removing the tape quickly, especially if you’re using a quick-drying top coat.
Additional Tips
Here are some extra tips to enhance your taped manicure skills:
- Quick-Drying Base: Use a fast-drying top coat on your base polish before applying tape. Tape only one nail at a time to prevent the tape from being on your nail for too long.
- Layering Polishes: If you’re using several colors, apply a thin layer of top coat in between to achieve a smooth result.
- Repair Damaged Layers: If you accidentally damage a layer with the tape, try freehanding over the damaged area and apply top coat to conceal any imperfections.
- Get Creative: Explore other options such as striping tape for creating small lines, round stickers for half moons, or using a hobby scissor with unique shapes on the tape. You can also use a hobby knife to cut out intricate designs from the tape, allowing for endless creative possibilities.